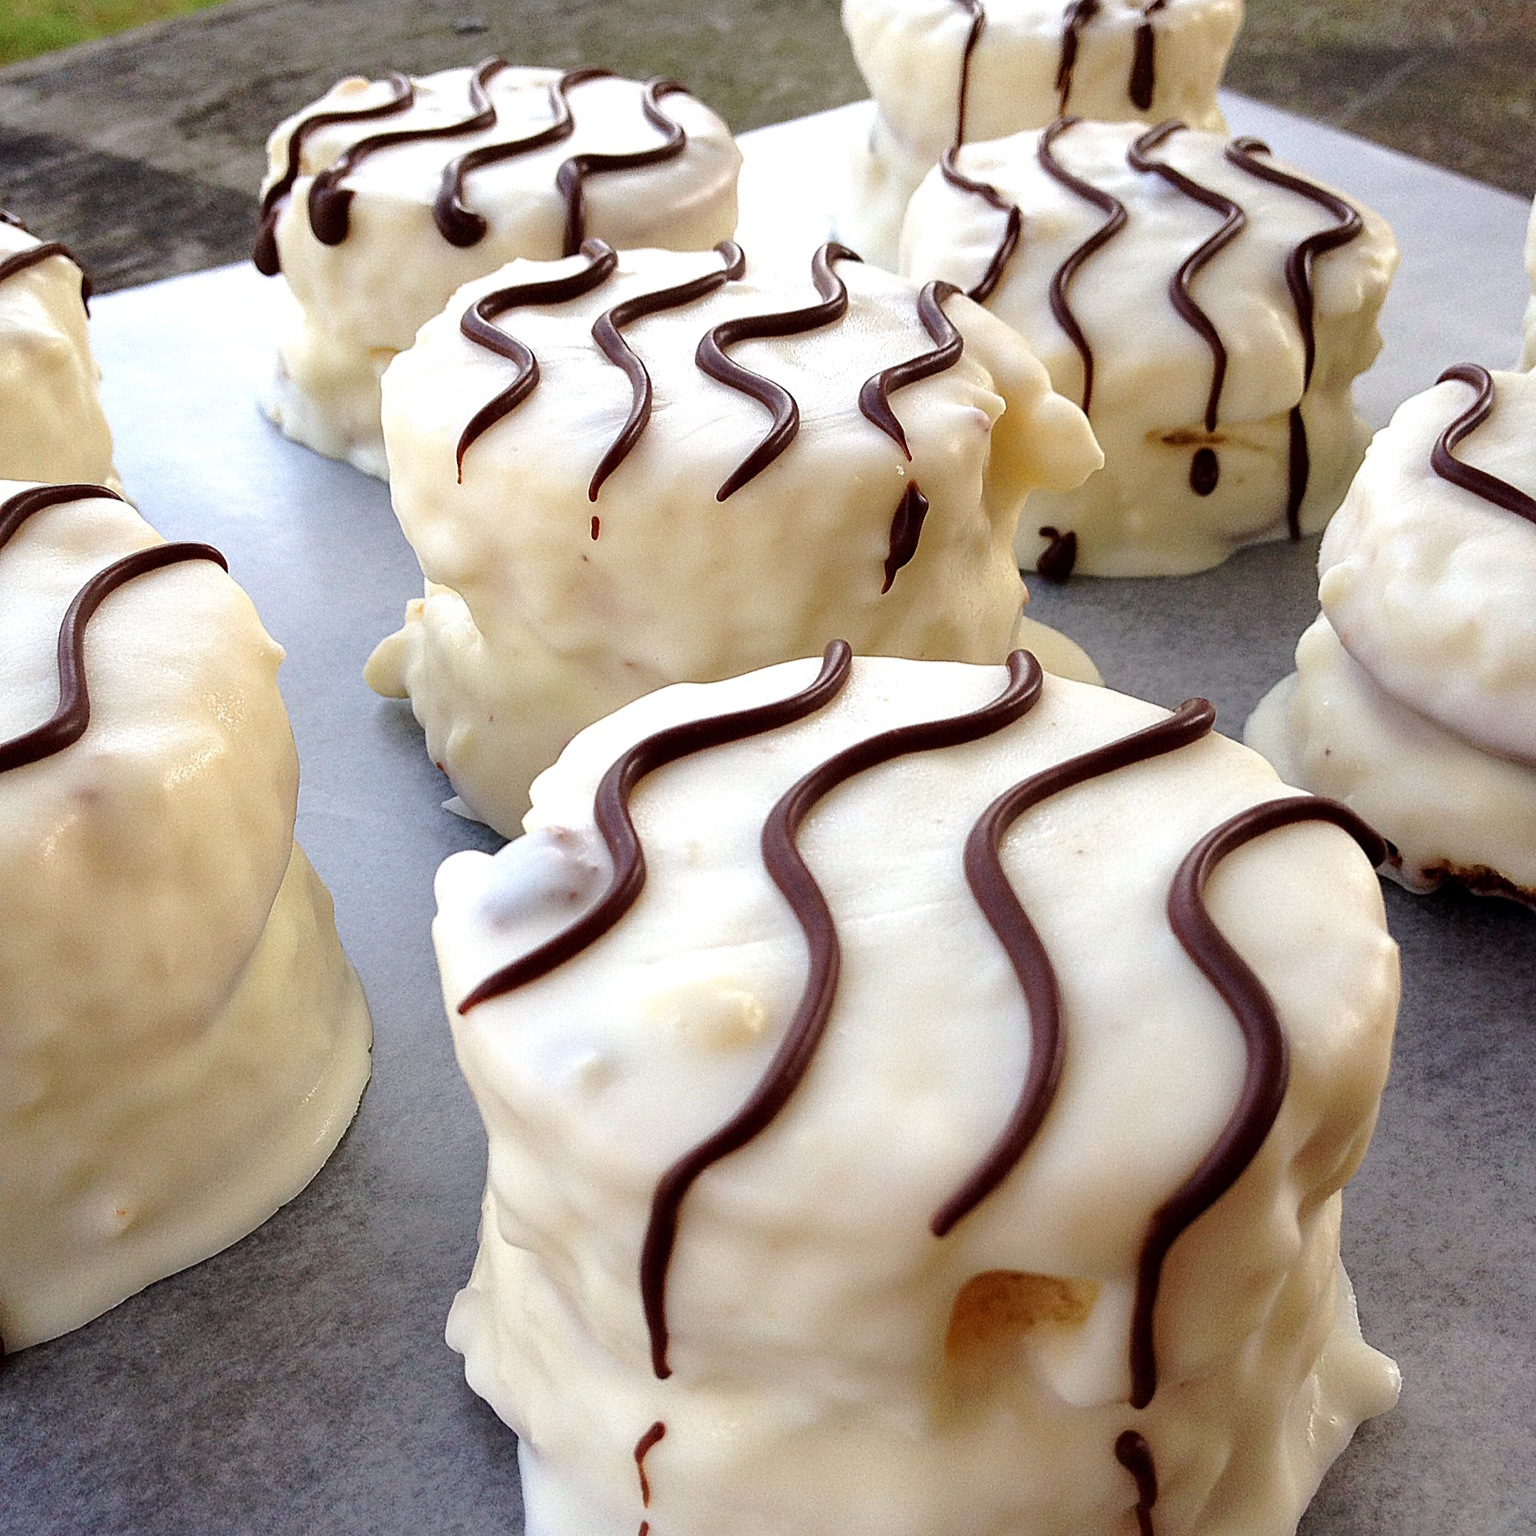
Oh yes, that’s right. Homemade. Zebra. Cakes. Today is my Dad’s birthday, and the originals are a long-time favorite of his. Pete always has a box of them stashed away at home and out at Lower Breaux Bridge. So, when it came time to ring in another year, I thought it would be perfect, and unexpected, to celebrate with my own little homemade recipe for these tasty little snacks.
And they were definitely a hit! They turned out even cuter and tastier than I had imagined. Everyone had their own little mini cake to enjoy . . . and there are a few leftover to fight over for the next few days.
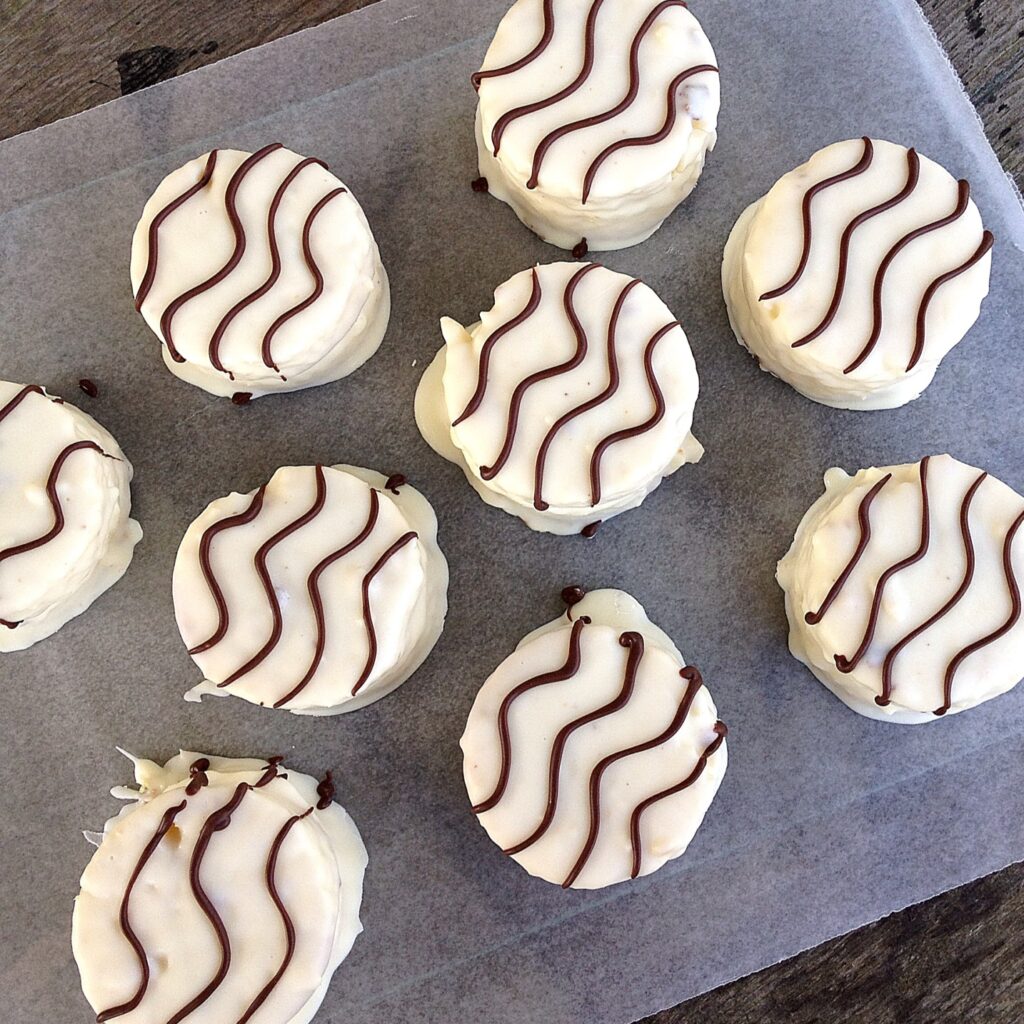
Although the process is a little bit intensive, it was a lot of fun to do with the family and totally worth the fuss.
Ingredients:
Yellow Cake
- 3 cups cake flour
- 3 1/2 teaspoons baking powder
- 1/2 teaspoon salt
- 3/4 cup unsalted butter, room temperature
- 1 1/3 cups sugar
- 6 large egg yolks
- 1 cup whole milk
- 2 teaspoons pure vanilla extract
Filling
- 12 tablespoons unsalted butter, room temperature
- 1/2 cup vegetable shortening
- 1/4 cup milk
- 1 teaspoon pure vanilla extract
- 3 cups confectioners’ sugar
White Chocolate Coating
- 16 oz. white chocolate melting chips
- 1/2 cup vegetable shortening
Dark Chocolate Drizzle
- 4 oz. dark chocolate melting chips
Directions
Yellow Cake
- Preheat oven to 350 degrees F.
- In a medium bowl, sift the flour with the baking powder and salt.
- Using a stand mixer with a paddle attachment, beat the butter until soft and creamy, about 1-2 minutes.
- Slowly add the sugar and beat until light and fluffy, about 3-5 minutes.
- Add egg yolks, in two batches, beating well after each addition. Scrape down the sides of the bowl as needed.
- Add the vanilla extract and beat until combined.
- With the mixer on low speed, alternately add the flour mixture (in three additions), and milk (in two additions), beginning and ending with the flour.
- Pour batter into a greased 15×10-inch jelly roll pan.
- Bake at 350 degrees F for 15-20 minutes.
- Place the cake on a wire rack to cool, in their pans, for about 10 minutes. Then remove the cake from the pan and place onto a greased rack to cool completely.
- Use a biscuit cutter or other round cutter to cut an even number of circles in the cake. Try to cut the circles close together to maximize the number of cakes. close together in the cake.
Filling
- While the cake is cooling, cream together butter and shortening until smooth.
- Slowly add the milk, sugar, and vanilla extract.
- Continue beating on medium speed until smooth and creamy.
- Place the flat side of one cake circle face down. Spread filling on the top.
- Top with another cake circle, flat side up. Repeat with all the cakes.
- Place the cakes on a baking sheet lined with wax paper and refrigerate for 30 minutes.
White Chocolate Coating
- In a large microwave-safe bowl, melt the white chocolate chips and shortening, stopping to mix every 30 seconds.
- Once fully melted and combined, place a cake in the bowl and gently spoon the melted chocolate over the top.
- Slide a fork under the cake and lift it out, pausing to let the excess drip off.
- Place the cake back on waxed paper. Repeat with all the cakes, then let sit at room temperature until the coating is set.
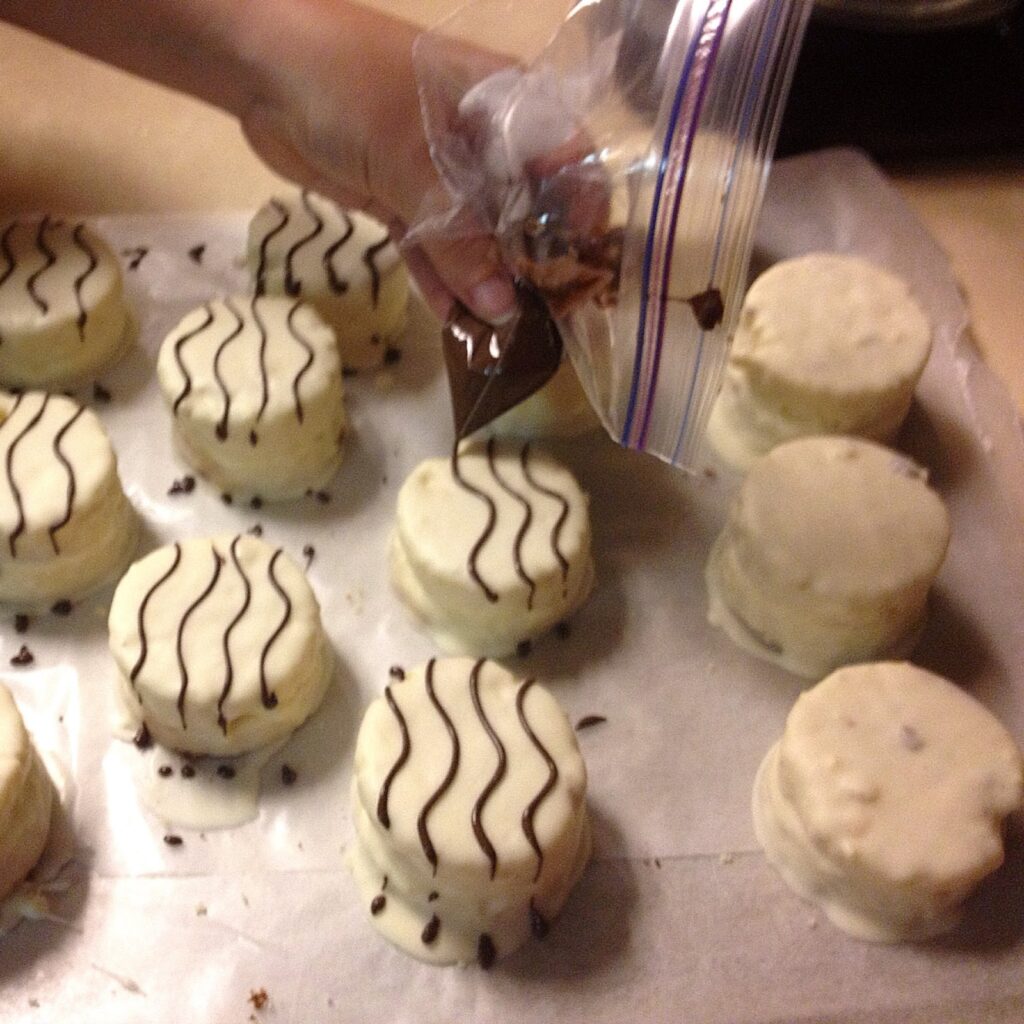
Dark Chocolate Drizzle
- When the coated cakes have set, melt the dark chocolate in a microwave-safe bowl, stopping to mix every 30 seconds.
- Drizzle over the top of the cakes.


